Batana Oil Before and After: How to Photograph Fairly
Search for before and after photos of almost any hair product and you will find the same trick repeated: a dull, flat, unwashed "before" in a dim bathroom, and a glossy, blow-dried "after" in daylight. Nobody has to lie for this to happen. Different light, different day, and a different angle are enough to change a photo completely.
What gives it away
Photos mislead for a handful of reasons, and they are all fixable:
- Lighting. Overhead bathroom light flattens shine, and window light brings it out.
- Wash day. Day-three hair and fresh-out-of-the-shower hair are not the same hair.
- Styling and parting. A different parting, a bit of heat or a different brush changes how full hair looks.
- Filters and edits. Phone cameras sharpen and smooth automatically, and apps go further.
The most useful photos are the ones you take yourself. Here is a way to make them honest, so that you can decide for yourself.
A fair-photo method
Dermatologists, who rely on photographs to track change, give the same basic advice: even, consistent lighting, a plain background, the camera at the same position and angle each time, and several shots from different angles. A 2026 review of dermatological photography names resolution, lighting and focus as the three essentials, and background, perspective and angle as the principles that make images comparable. You can borrow all of it.
- Pick one spot. Stand by the same window, at the same time of day, with the light coming from the same side.
- Use the same camera setting. Switch off filters and beauty modes, and keep zoom, distance and height identical. Prop the phone on a shelf so it cannot drift.
- Match the hair's condition. Same day since washing, same parting, the same amount of styling (or none).
- Take four views: front, each side and back, plus one close-up of the ends.
- Shoot before you start, then once a week, always on the same day.
- Look at them side by side, after the full period, not one by one.
- Ask a friend to judge, without telling them which photo is which.
What to actually look at
Stay with things an oil can plausibly affect on the surface: shine, softness (judge that with your hands, not the lens), how the hair sits, and frizz at the ends. Add a short note each week: easy to comb or tangly? A tidy outline or flyaways? Notes are underrated, because they catch the feel that a photo cannot. Even a one-line entry like soft ends, still frizzy at the crown is more useful in week six than your memory will be.
Give it four to eight weeks
Pick your end date before you start and put it in your calendar. It keeps you from judging on a bad hair day in week two, or from stopping the moment something looks a little different.
Surface changes show up fast, as our timeline post explains, but a routine takes a few weeks to settle, so a month or two is a fair window. If you compare day one to day three, you are mostly comparing wash cycles. Our guides on how to use batana oil cover a routine to follow in the meantime.
Reading other people's photos
The same rules apply when you look at anyone else's images.
Treat online photos as stories, not measurements, and that includes reviews on any product page. A single glowing picture shows you what happened under a specific light; it cannot tell you whether it will happen for you. We have written about how to read the reviews more broadly in our reviews post.
And if what worries you is a change in the amount of hair you see, a photo is a good thing to bring to a dermatologist, who can look properly. An oil is a cosmetic, and that question is bigger than cosmetics.
Take your own photos, be strict about the setup, and the answer you get will be yours. For the wider picture, start with our hair guide.
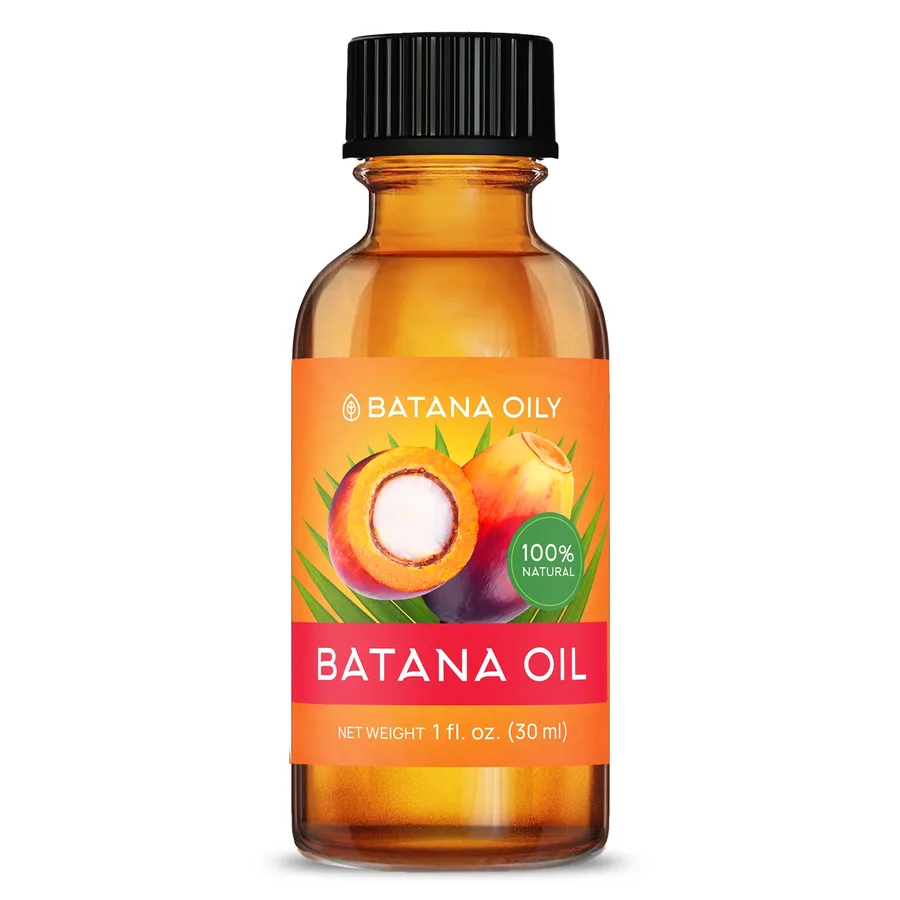
Natural Batana Oil
Honduran batana oil and batana butter, from a small bottle to bulk sizes.
From $12.99
Shop Batana Oil →Sources & Further Reading
- Ali Z, Thomsen SF. Photography in dermatology. Front Med (Lausanne), 2026.